Showing posts with label Invitations. Show all posts

Monday, September 24, 2018

50th Anniversary

Happy Monday Morning! Today is a long posting so get your coffee ready. I am sharing my parents 50th Anniversary celebration. My Dad, as he said "I don't want a Circus" so we kept it small. We set up chairs, alter and tables in my back yard, which made it intimate and perfect. 
Here is a photo of the front and back of the invite.
This was kind of a last minute celebration I ordered
the invites and didn't realize the photo paper was so
flimsy. Fortunately, I had gold CS to add a backing to
the photo. It was a good thing because  I didn't put my
 parents name on the invite.
😆(Oh Dear) They
turned out okay in the end.    
I decorated a basket by spray painting it white,
adding jeweled lace and flowers to it. We filled it
with white rose petals and had my niece walk down
the isle in front of my Mom. I added glitter
and flowers to decorate the wine glasses. 

I made napkin holders to help add color to
 the tables. I embossed the outside square and
 added the ribbon. Using die cuts I made the
 "50th" embellishment and added it to
the center.
I wanted some kind of an alter for my parents
to renew their vows. I ordered this arch on line.
Boy you get what you pay for. It was very
flimsy so we had to tie it down with fishing line. 
After adding sheer material and flowers
I think it came out really nice. 

This is a picture before the ceremony of
my Parents. 
The cake table and cookie table. 
Thank you for sharing your time with me while I share my family with you. God Bless

Monday, August 3, 2015

Wedding Invites

Good Morning! Hope all is well with you today. Today is a long posting.  Get your coffee ready.By the time I have shared this blog posting my Son will have married the love of his life.  I was delighted when they asked me to make their Wedding invitations.  I made different samples for my son and daughter-in-law to choose from.This is the design she choose because lets face it men really don't care about these kind of things...LOL  I used handmade paper from Michael's that I purchased mostly from the three different Michael's in  Arizona (AZ) while visiting my sister, luckily at 30% off. I also purchased the shimmer paper for the inside of the invitations in AZ at a paper warehouse.  It's just amazing how many paper craft stores AZ has.  The cost is soooooo much cheaper too.  I ran out of the shimmer paper and had to buy some here in Albuquerque. I was shocked for the same cost of the 100 sheets I purchased in AZ I only got 25 sheets here in Albuquerque. My daughter-in-law loved them as well as my son did.  That makes me happy! 
The outside of the invitations is made with the
handmade paper from Michael's.  The bow is made
using the SU  bow builder punch.  My neighbor Heather
 helped me attach all the bows! Thanks Heather!!

First flap on the left has an embossed bride and groom.

The middle has the announcement of the wedding
and the right side has card inserts for the reception,
accommodations and the RSVP card.

A close up of the embossed bride and groom.

My daughter-in- law Brittny searched Etsy and found
 a lady who does graphic work. She sent the lady the
wedding details and what she wanted printed in the invites.
She received a PDF file and we printed them ourselves
on the beautiful shimmer paper.  It was wonderful.
The cost was only $20.00.  I would definitely use this
lady again.  Worth the money!
 

A close up of the pocket with the inserted cards. 


Back side 
Here is the cuttings for the inside of the invite.

All the punched pieces for the bows

Bows complete. Yuppie!! 

The finished invitations.
Sorry for the long post, thanks for letting me share! I will post some pictures of the wedding later this month.  Have a great day!

Wednesday, April 22, 2015

Ladybug Invites

Happy Wednesday to you!  My daughter's friend was planning a First birthday party for her daughter and she chose Ladybugs as the party theme.  I volunteered to make the birthday invitations for her.  
These are the four samples I made for her to choose from.
The only difference is the antennas and the spots. 

On the samples I sent her, I put some made up
birthday info inside  so she would
 have some ideas for her invites. 

All the antennas were done with punches.  Some
of the spots I added glitter or embossing.

Here are the completed birthday invites. She
chose the embossed spots and the small antennas.
Hope your garden is filled with lots of ladybugs this summer.

Wednesday, December 3, 2014

Baby Shower Invites

Are you having a wonderful day?  Did you get any great sales on Cyber Monday?  I did very little shopping this year.  Which made my husband very happy .....LOL  We are being blessed with a granddaughter in January 2015.  My daughter-in-law wanted her baby shower theme to be Strawberry Short Cake.  She shared with me a sample of an invite she wanted so I decided to give it a try.
Woo Hoo I used my Cricut machine for the first time.
 It took me awhile to get the hang of it but I think
 I am going to like it. Oh No that means I have to
buy cartridges....LOL
All the strawberry parts were cut with the Cricut
except the black CS I  freehand cut for the seeds.
  

It took me several days to put the strawberries together.
In doing so I attached the parts on different sides of the green
 background.  As you can see some of them
face to the left and some to the right. Oh well they
truly are all unique and handmade. 


The baby was printed on CS and hand cut. 

She is just so cute!!!!

Inside of the invite. 

Thank you for stopping by.  Have a super great day!

Wednesday, April 30, 2014

Music Invites

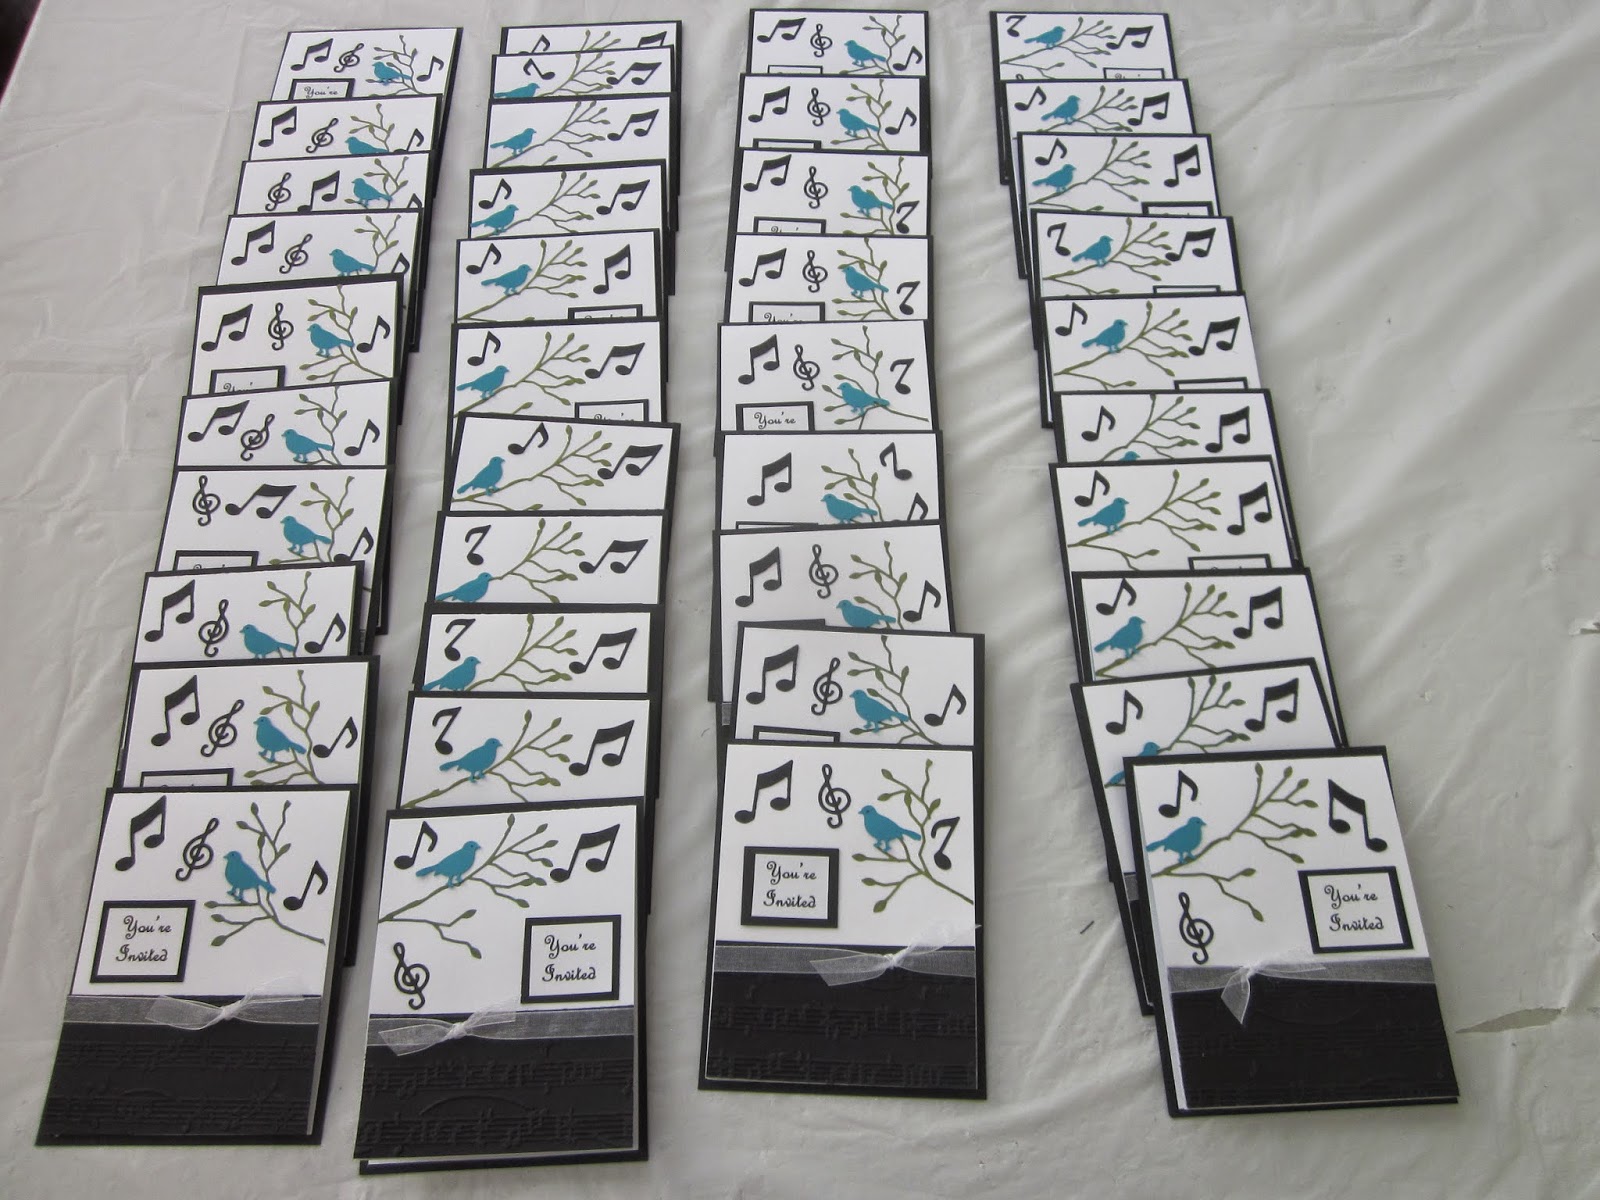
Hello everyone.  Today I am sharing an invitation I made for my niece Katrina. My sister-in-law Pauline asked if I would could make invitations for Katrina's college Senior Clarinet recital and of course I said yes. Katrina loves birds and music so I put together a card with both and this is what we came up with.
Here is all the cuttings for the invitations. Doesn't look
like much does it?

A close up of each piece.

Here is my work table adding the branches to the white CS. 


I cut the branch in half and used it on two invites so some of 
them have the bird on the right and the others on the left.  


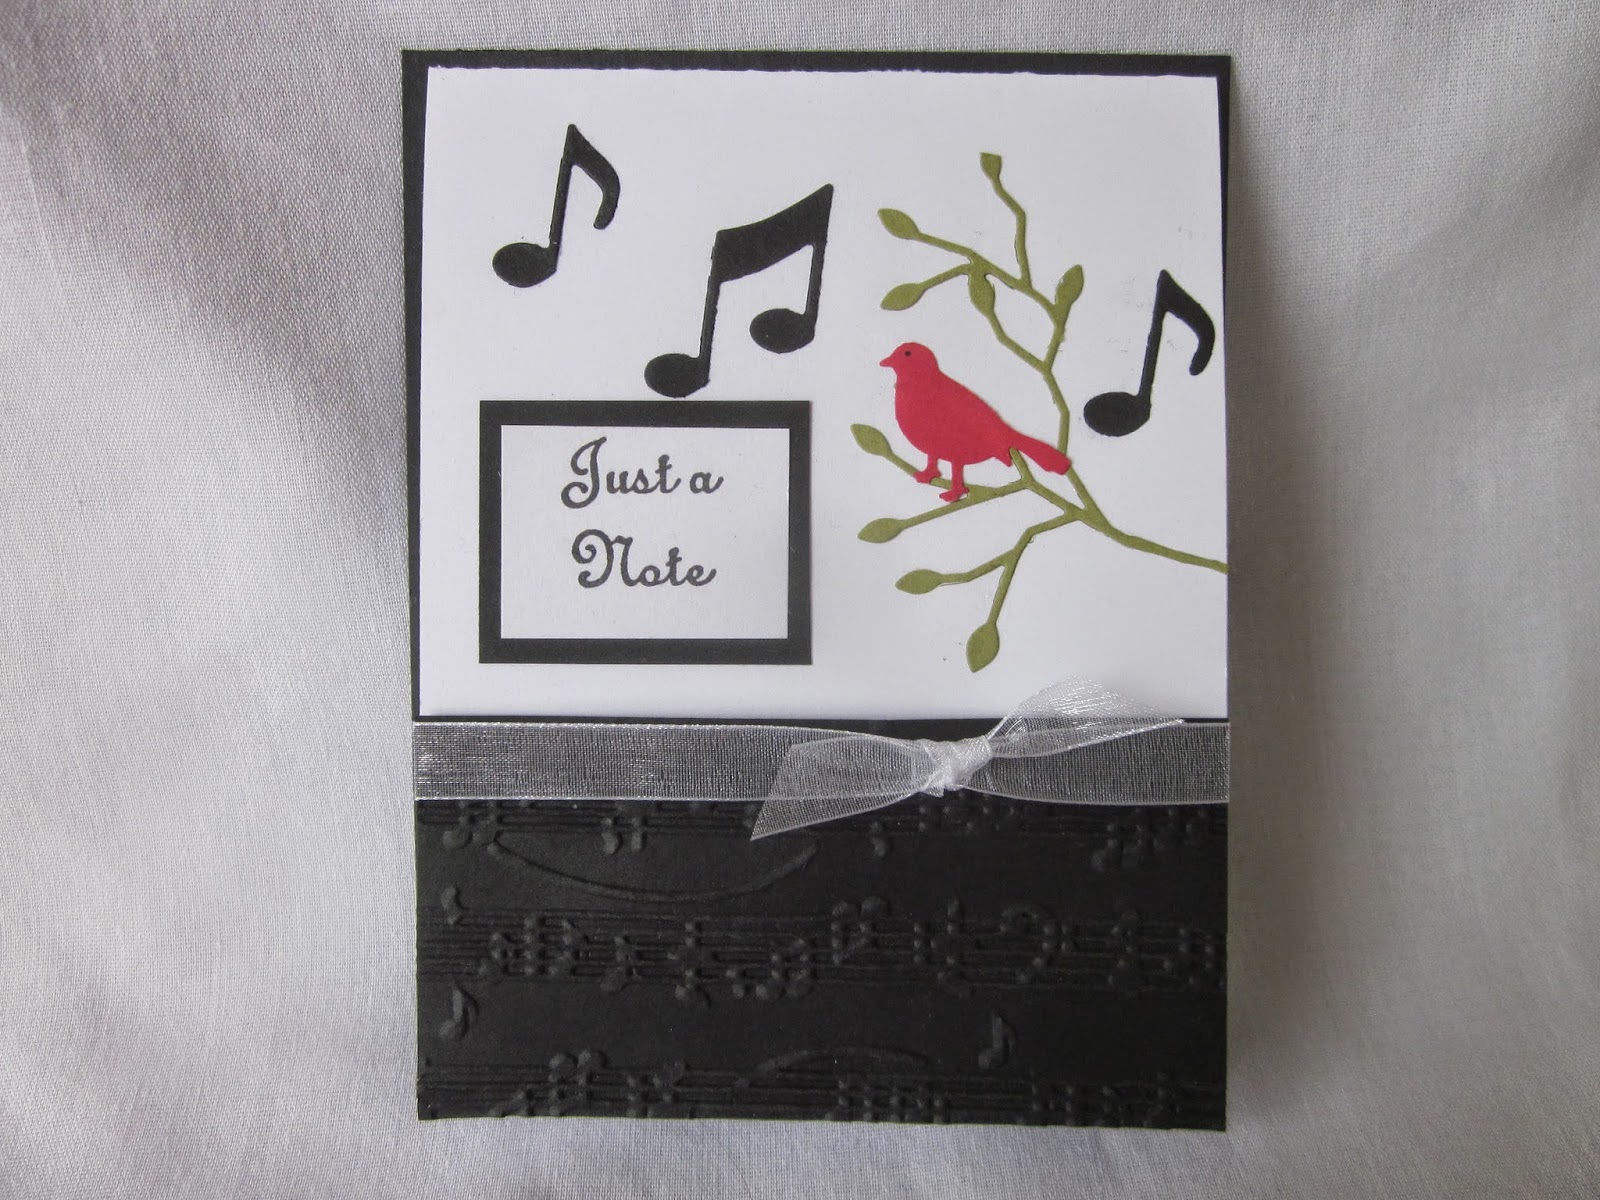
This is the original note card I made and posted on 4/14/2014.
Looks much better with the blue bird. 

My niece printed the information on the inside of the white CS.


Katrina wanted to insert her  picture, so using a music
 punch I added a strip at the top inside panel.  
You have a awesome day!  Happy Stamping!

Monday, April 21, 2014

70th Birthday Invitations

Happy Monday to you to.  I hope you had a wonderful and blessed Easter Sunday! My Mom turned seventy on Easter Sunday. What a blessing.  We had a big surprise party and celebration for her on Saturday.  Here are the invites I made for her party.  
I used a flower paper packet and printed out the
wording on the computer. The invite is 4x12 tri-fold.
  (surprise, surprise another tri-fold...hee hee)


I requested a memory from everyone to be mailed or
emailed to me instead of a gift.  I made a pocket
album for all the letters as a keepsake for my Mom.
 
I thought the memory letters would be a wonderful gift to my Mom.  Little did I know what a wonderful gift it was to me!  As the letters poured in I smiled, I laughed, I cried and my heart was filled with the Love of my Mother.  If you have a milestone birthday or event coming up requesting memories is the BEST gift you can give.  Hope you have a great week!!

Tuesday, March 11, 2014

Baby Invites

 Good Morning Everyone!  Hope you had a super great weekend.  I was at a retreat in Pecos, NM over the weekend.  Look what we woke up to on Saturday morning.  It was just beautiful!!  I had a great time!!

Do you remember the baby invitations I posted last week for my daughter's friend Emily? Scroll down past the snow and see what she chose.


She picked the Onesies and the Baby Buggies.


I free hand cut each invite from a template I made.


I printed "It's A Girl" on the computer so they would
come out perfect instead of having to stamp each one.

Inside the invite.  

I used a die cut to make the buggies and it took longer
to cut these than it did the onesies free hand....LOL

I used two different punches for the spokes on the wheels. 


Inside the buggies.
Enjoy your day today.  Made sure to check back tomorrow as I will be sharing another Mini Album by Debbie.  Happy Stamping....