Thursday, February 28, 2013

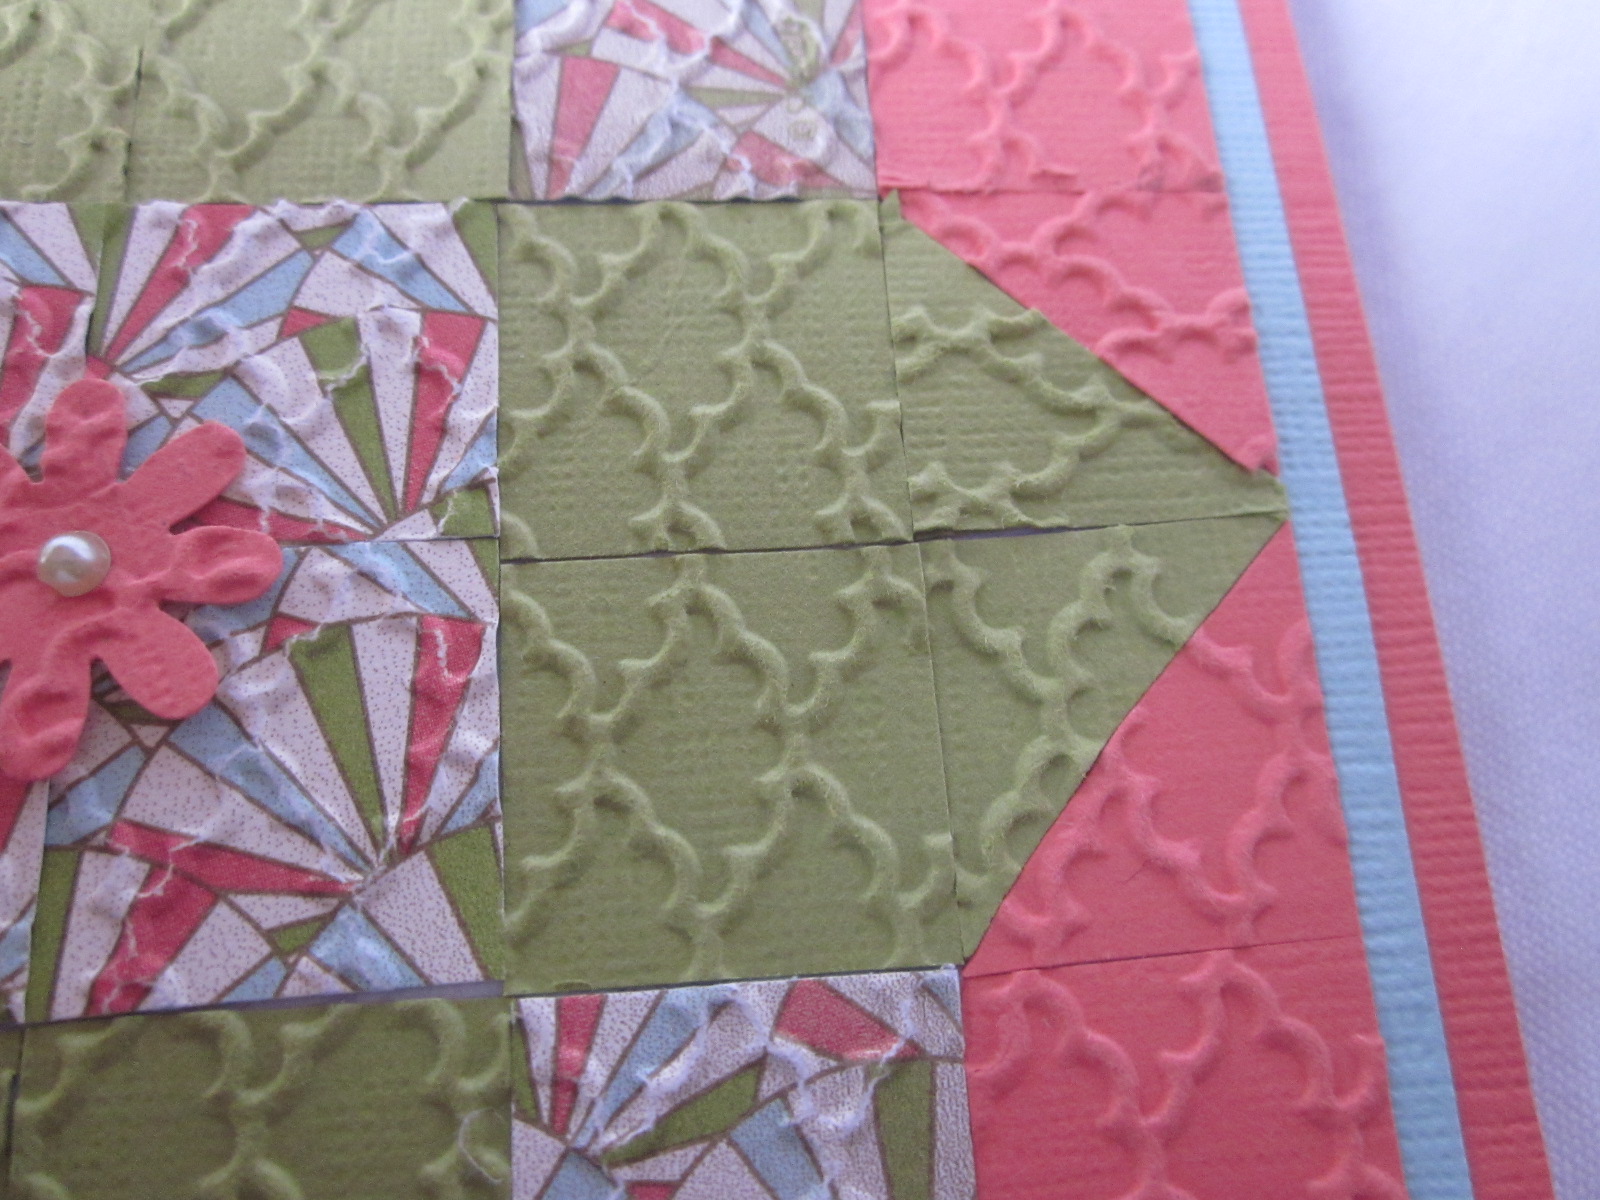
 Here is my last quilted card.  This pattern paper was pretty heavy so I didn't emboss it.  The quilted pattern came from the same blog of yesterday's card.

I wanted to try 1" squares but that made the card way to big.
So I changed the yellow strip down the middle to 1/4 "
left the rest 1" and it worked perfectly.

My daughter said it looks as if its just paper printed with this design.
What do you think?  Thinking about it now not sure if that was a
compliment or not. I guess by the third card I followed
the gird sheet better...hee hee. I 
added the ribbon
 and a button to give it some life.

This button was in a tin can that was given to me filled
with buttons. It looks like a red hat but it goes perfect with the card. 
I hope you enjoyed these quilted cards as much I enjoyed putting them together.  Maybe I need to take some sewing lessons......On second thought I should start with all those shirts that need buttons first....ha ha
I Thank You Sew much for stopping by!!

Wednesday, February 27, 2013

Quilt Card Pink & Black

 Today is my second attempt at a quilt card.  This one came out much better because the pieces all fit together.  LOL
The design of this card came from a quilters blog "Quilt Blocks Galore!!. 
Wow!  She has so many beautiful designs.  
On this card I only embossed the CS and not the pattern paper. 
I used 3/4 " squares just like I did for yesterdays card. 

 I added a bow and stamped the "For You" tag. 

This design was a lot of fun to play with.  It was like putting
a puzzle together. 

I have one more quilted card to show you tomorrow so I hope you stop by.  Enjoy your day!

Tuesday, February 26, 2013

Quilted Card

For those of you who really know me, I don't sew.  If it needs a button it goes to the back of the closet.  hee hee.  I have always admired those who sew and quilt.  What beautiful work they do.  The many hours they put into their projects!!!  I decided to tackle a quilted card.  I viewed a tutorial at www.splitcoaststampers.com and thought I would give it a try. This is a first of three quilted cards I made.
  I did follow the tutorial step by step for this card using 3/4 "
squares. 
I used a paper grid sheet to align each row of squares.
As you can see the first left row over lapped the next row.
Now you know why I don't sew...hee hee 


I thought the paper looked a little flat so used an
 embossing folder and embossed all of the squares
before I glued them down.


It was a bit challenging at first but all in all it was fun.  Hope you stop by tomorrow and check out the next quilt card.  Have a super great day!

Monday, February 25, 2013

It's Monday, a start of a new week.  I hope this week brings you smiles and time to relax
 and craft.  Today's card was made using the floral oval die cuts and an embossing folder.  
I embossed the pink CS and glued it to the brown card.
The ovals were inked around the edges then layered
using foam tape to the pink CS. 

I just love this lace.  It was a whole bundle I got in the
clearance sewing bin at Michael's. 

Using the floral oval die cut I cut out an oval with pink CS,
then cut out the center and attached it the the design above.
Not wanting to throw away the outer end I attached it
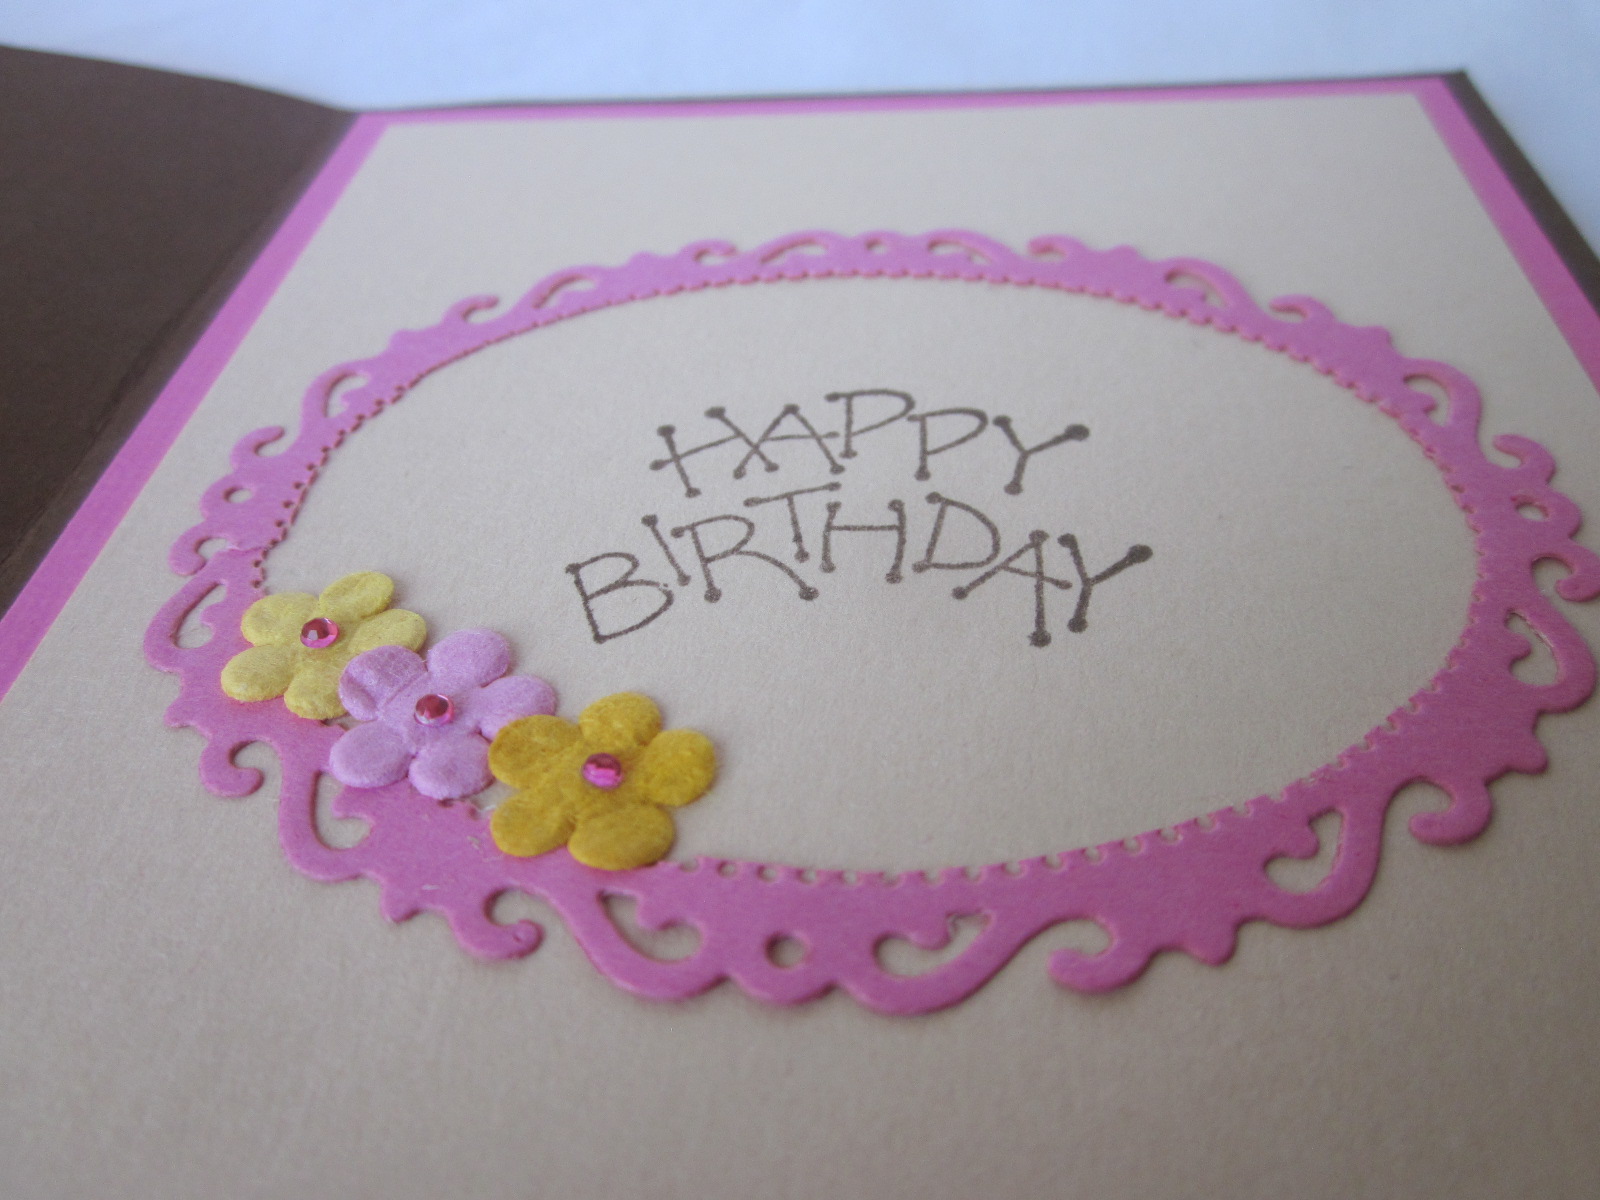
to the inside of the card below. 

Inside of the card.  

Have a Happy Day!!!

Friday, February 22, 2013

Today I am sharing a homemade gift I received from Marti, she is one of my crafting buddies.  
She made this beautiful cover for some mineral bath. 


Thank you so much Marti!!  You all have a restful and enjoyable weekend!!